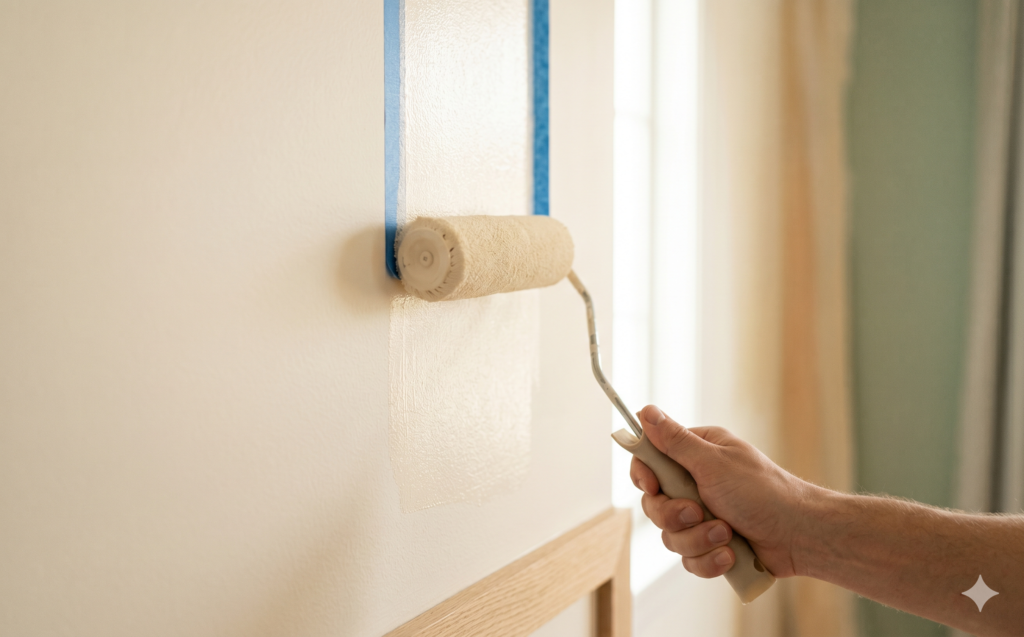
Before any brush touches the wall, the real secret to a flawless finish is knowing how to prepare a room for painting. Good prep is the difference between crisp, professional lines and a patchy job you’ll be touching up for months. Here’s the exact routine our painters follow on every visit.
Clear and protect the room, clean and repair the walls, sand the rough spots, tape your edges, and prime where needed — then paint. Prep is about 80% of a professional-looking finish.
It’s tempting to skip ahead to the fun part and start rolling colour. But every experienced painter will tell you the same thing: the paint is only as good as the surface underneath it. Spend an hour to prepare a room for painting properly, and the actual painting goes faster, looks better, and lasts far longer.
What you’ll need
How to prepare a room for painting, step by step
Clear the room
Take out everything you can — lamps, décor, smaller furniture, and anything on the walls. The more open floor space you have, the safer and faster the work goes. Whatever can’t leave, group it in the centre of the room.
Protect floors and furniture
Cover the remaining furniture and your entire floor with canvas drop cloths or plastic sheeting. Canvas is worth it: it stays put, absorbs drips, and isn’t slippery underfoot like plastic can be.
Remove hardware and fixtures
Unscrew switch plates, outlet covers, and door hardware, and loosen light fixtures. Painting around them looks rushed; removing them takes minutes and gives you clean, professional edges.
Clean the walls
Paint won’t bond to dust, grease, or cobwebs. Wipe walls down with a mild cleaner — especially in kitchens and high-traffic hallways — and let them dry completely before you go further.
Repair and patch
Fill nail holes, dents, and cracks with a quality filler, then let it cure. This is the step most people rush — and it’s the one your eye notices most once light hits a freshly painted wall.
Sand smooth
Lightly sand patched areas and any glossy trim so the new paint has something to grip. Wipe away the dust afterward with a slightly damp cloth.
Tape the edges
Run painter’s tape along trim, baseboards, and the ceiling line. Press the edge down firmly so paint can’t bleed underneath — that single detail is what creates those razor-sharp lines.
Prime where needed
Prime any patched spots, bare drywall, stains, or dramatic colour changes. A good primer evens out the surface so your finish coat goes on true and even.
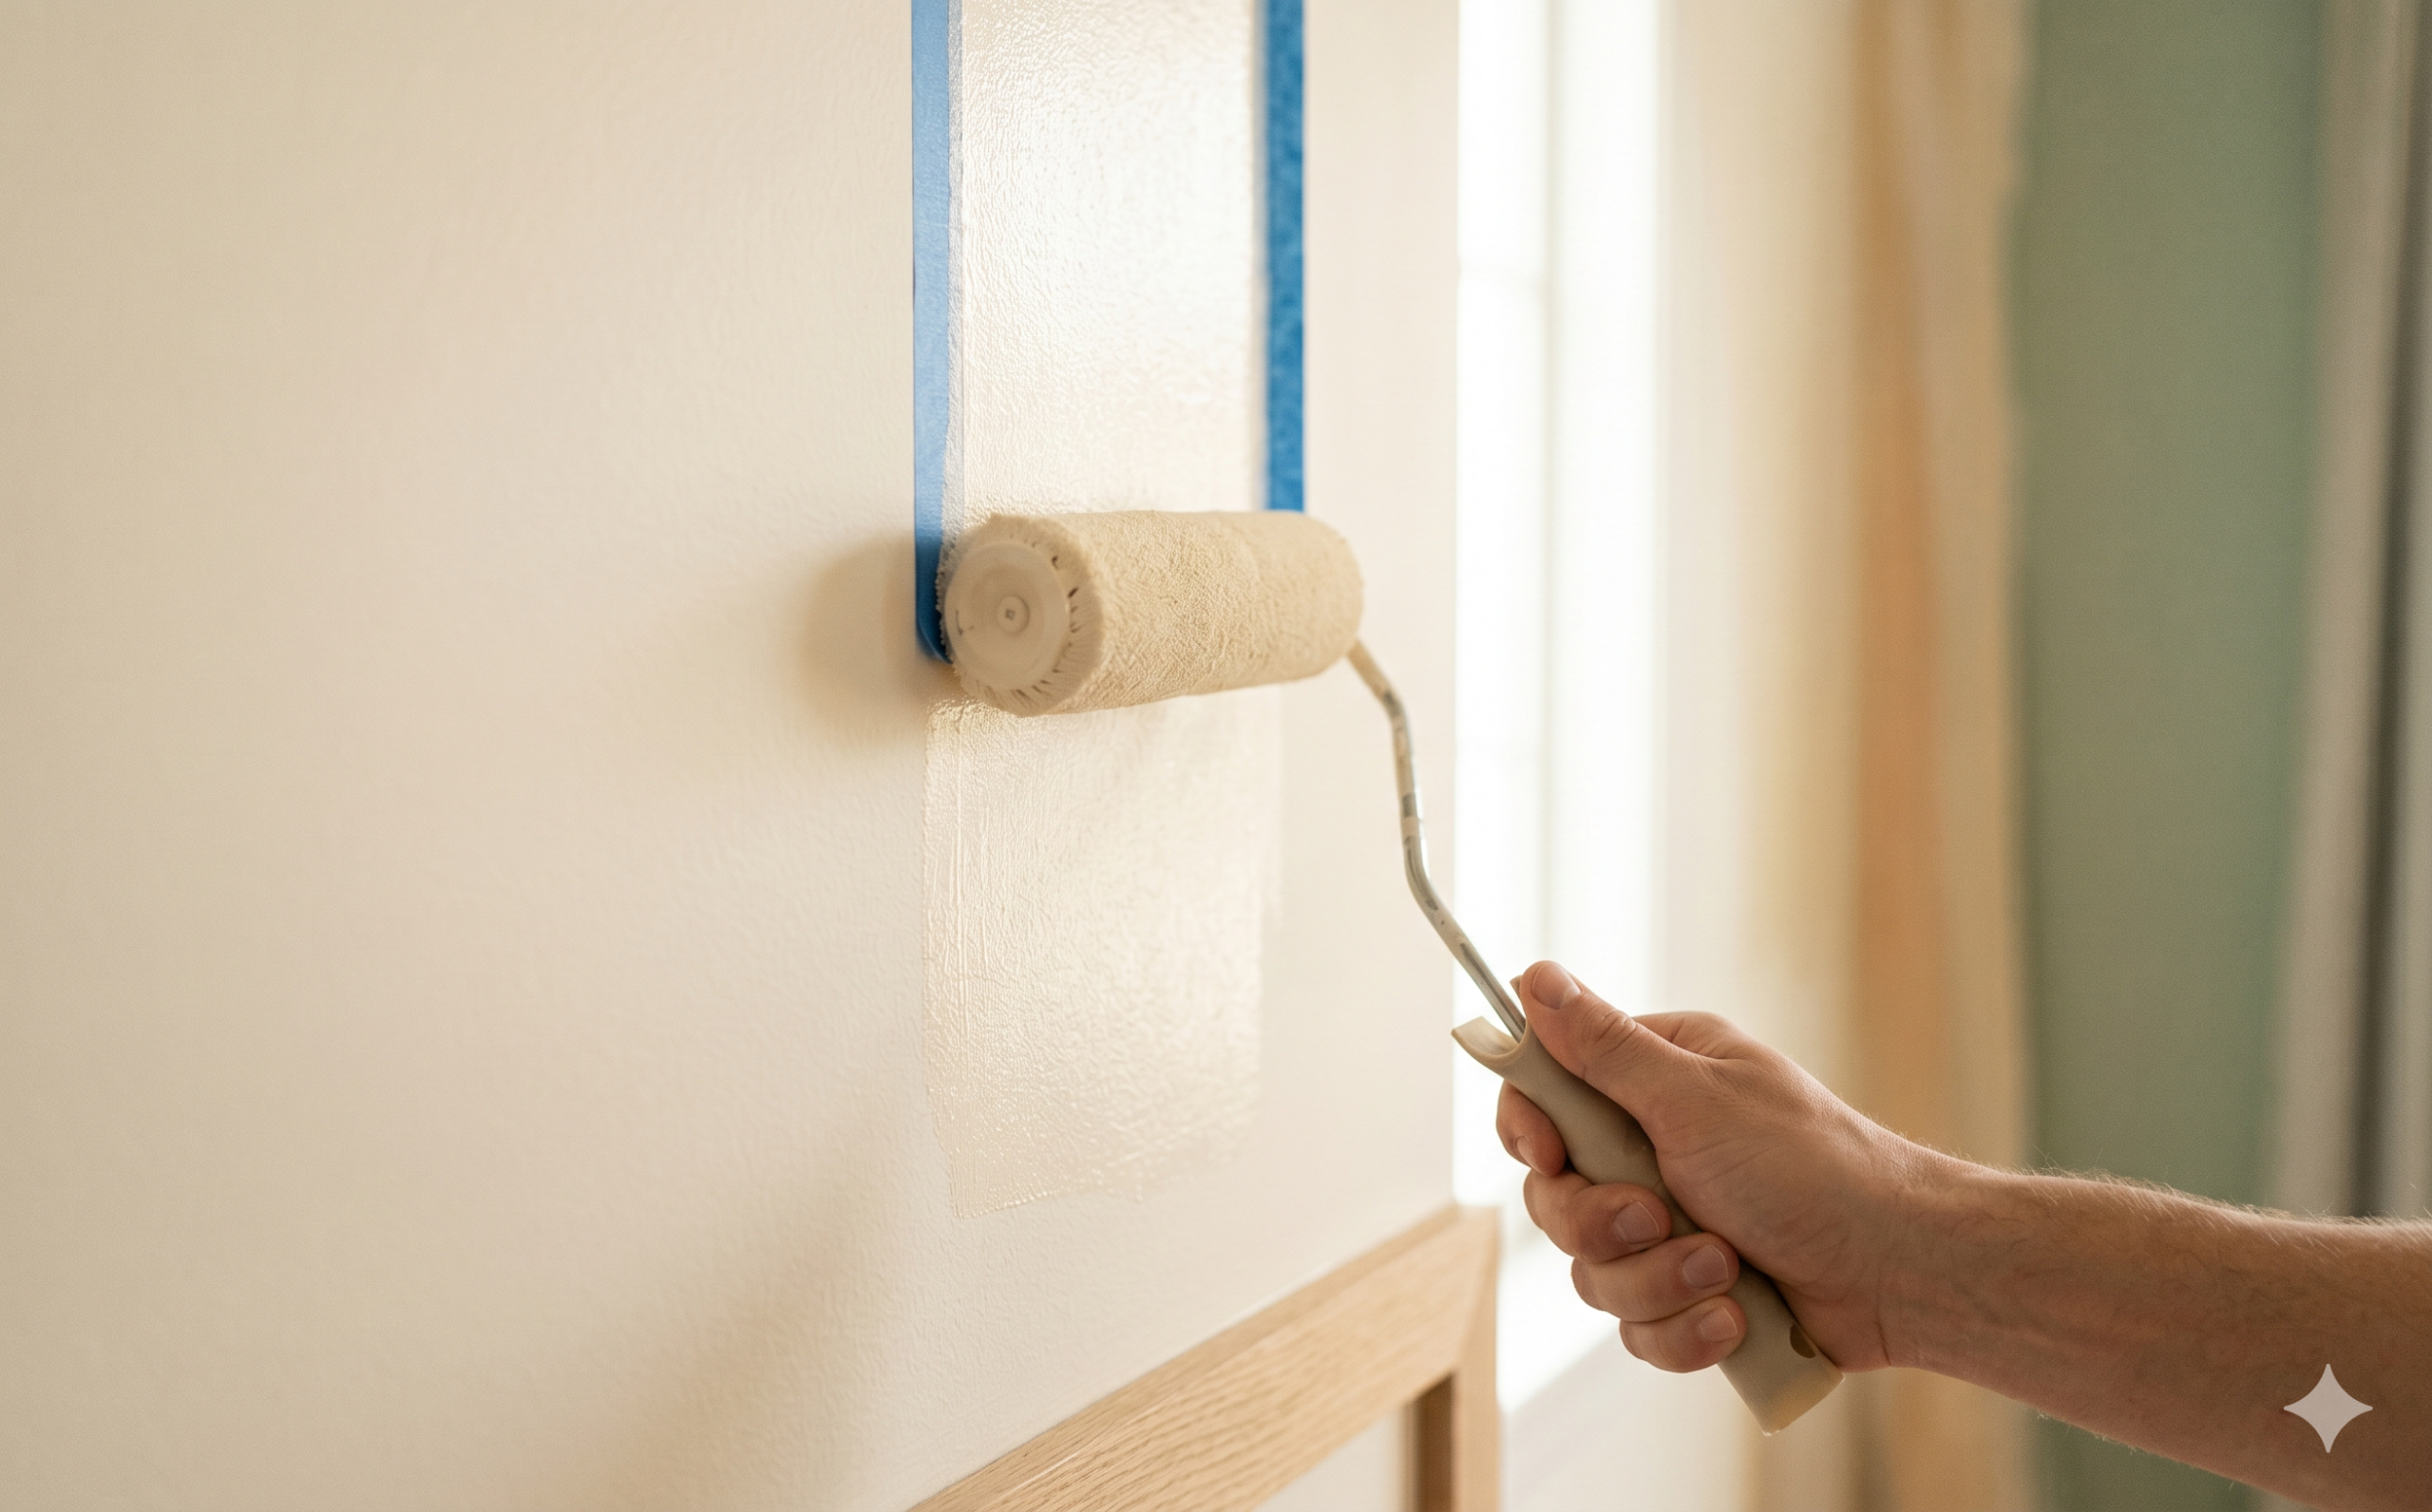
For the sharpest possible line, peel your painter’s tape away while the final coat is still slightly wet. Pull it back on itself at a slow, steady angle — never straight out.
How long does it take to prepare a room for painting?
For an average bedroom, plan on one to three hours to prepare a room for painting properly — longer if there are lots of repairs or glossy trim to sand. It can feel like a lot of effort up front, but every minute of prep saves you two in touch-ups later. Done right, this is the stage that quietly decides whether your finished walls look DIY or professional. If that sounds like more of a weekend than you have, that’s exactly where we come in.
Ventilation and safety
Open windows and keep air moving while you work, and choose a quality low-VOC paint to keep your indoor air healthier. If your home was built before 1980, take a moment to read up on lead-safe practices before sanding older paint — it’s a small step that protects your whole family.
When to call in a professional
A single bedroom is a satisfying weekend project. But when you’re facing high ceilings, whole-home repaints, heavy repairs, or simply don’t have a free weekend, it’s worth bringing in a team that does this every day. Our painters prepare a room for painting to the same careful standard every time — protecting your home, prepping properly, and cleaning up completely afterward.
Rather skip the prep entirely?
That’s the whole idea behind Place of Peace — no stress, no mess, no surprises. Our painters handle every step, from prep to final coat to cleanup.